ROOM 13 Tier List Hub
Night difficulty from badge clear rates, plus the survival habits that keep shifts alive.
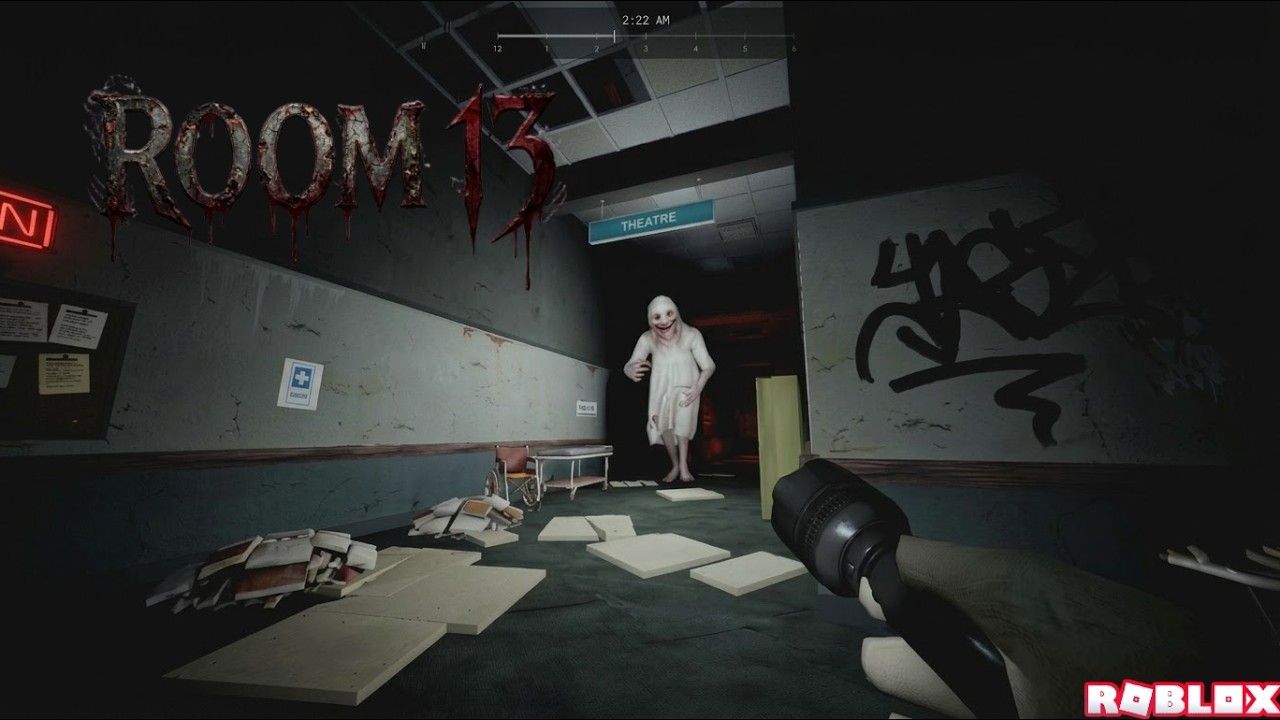
This Tier List Hub ranks every ROOM 13 night by how hard the community actually clears it, then ranks the survival priorities that decide whether you reach 6 AM. Clear rates come from official badge rarity: fewer players earning a night badge means that shift sits higher on the difficulty ladder. Use this page with the night walkthrough, how to hide, how to answer bells, Players Hub, and the co-op guide so rankings turn into a real plan instead of vibes.
ROOM 13 is a hospital night-shift horror game by CCU Zone. You answer call bells, manage light and sound, hide in lockers while holding your breath, and survive six nights solo or with up to four players. Miss three bells and the shift fails. She hunts through light and noise, so every tier below assumes you treat the map, flashlight, sprinting, and breath meter as tools—not decoration.
How this tier list is ranked
Difficulty tiers follow badge rarity and community clear rates, not lore scare factor. Higher rarity and lower win rate mean a higher tier. Approximate clear rates used here:
- Clocked In (first shift started): about 95 percent, Freebie
- Night 1 Quiet: about 47 percent
- Night 2 Restless: about 26 percent
- Night 3 Uneasy: about 15 percent (“Halfway through. She’s getting faster.”)
- Night 4 Hunted: about 10 percent
- Night 5 Relentless: about 7 percent (“One night left.”)
- Last Shift (all six nights): about 3 percent
Night codenames in order: Quiet, Restless, Uneasy, Hunted, Relentless, Last Shift. Clocked In is an entry badge, not a night clear, so it sits outside the S–D night ladder but still matters for Players Hub tracking.
Night difficulty tiers
S tier — Last Shift (Night 6)
Last Shift is the rarest clear at roughly three percent. By the final night She is at peak aggression, bells stack harder, and one sloppy route or lit hallway can burn a miss you cannot afford. Treat every hallway as contested. Pre-plan two escape paths before you leave a safe pocket, keep the flashlight off unless you need a short read, and never open the map in her line of sight. Solo players should slow the pace and accept longer routes that avoid her; co-op teams should lock one player on generator duty while others split bells. If you are grinding the final badge, review how to hide and how to answer bells before queueing.
A tier — Relentless (Night 5)
Night 5 sits near seven percent clear rate and carries the “one night left” pressure. Relentless punishes flashlight spam and late bell responses more than early nights. The difference between A and S is mostly endurance: you still need perfect habits, but one recovered mistake can still save the shift. Prioritize map discipline before every bell cluster, hold breath the moment a locker door closes, and call out her last known hallway in co-op. Players who reach Night 5 and wipe usually fail from panic sprinting or leaving a generator cold—not from missing a secret mechanic.
B tier — Hunted (Night 4)
Around ten percent of players make 6 AM on Night 4. Hunted is where average lobbies fall apart. She covers ground faster, so “I’ll just cut through this lit wing” stops working. Rank this night B because a prepared duo can still stabilize with clean bell routing and one calm hider, but random fours often burn three misses in a single hallway chase. Practice short flashlight pulses, pre-mark locker rooms on the map, and refuse to stack three people on the same bell.
C tier — Uneasy (Night 3)
Night 3 is the halfway badge at about fifteen percent, with the official note that she is getting faster. Uneasy teaches the skills you need for Hunted and beyond: leave buffer time between bells, stop running when you only need a jog, and treat generators as a rotating job instead of an afterthought. If your group cannot clear Uneasy consistently, do not force Night 4—drill night walkthrough routes and locker timing first.
D tier — Quiet and Restless (Nights 1–2)
Night 1 Quiet clears near forty-seven percent; Night 2 Restless near twenty-six percent. Both belong in D for absolute difficulty, but Restless is the sharper teacher. Quiet is your lab night: learn Tab map reads, E interactions, F flashlight discipline, and Space breath holds without max pressure. Restless raises the cost of bad habits just enough that players who ignore light and sound start dropping. Earn both badges, then move your focus to survival priority tiers below rather than rushing Night 6.
Survival priority tiers
Night ranks tell you where the wall is. Survival priorities tell you what to practice so the wall moves. Ranked by how often they decide late-night clears:
S priority — Map discipline
Open the map with intent, not fear. Before you commit to a hallway, confirm the shortest safe route and a backup if She is already there. Community clears repeatedly stress reading the map carefully, then turning around when she blocks the short path—even if the long path costs time. Never stare at the map while she is closing in; peek, close, move. Strong map discipline feeds every other skill on this list and pairs directly with the night walkthrough.
S priority — Breath control
Lockers only save you if you hold your breath. Enter, hold, stay still, and leave only when the hunt pressure drops. Players who open lockers then forget breath get found. Treat breath control as equal to map work: both are S-tier because a single failure ends a clean Night 5 or Last Shift run. Drill this in how to hide until the Space key is automatic.
A priority — Flashlight discipline
She sees your light. Keep the flashlight off in open corridors unless you need a one-second landmark check. Pulse the beam, then kill it. Lit players also make co-op partners easier to track—for her. Flashlight discipline is A instead of S only because perfect dark movement still fails if your map reads and breath holds are weak, but it is mandatory from Uneasy onward.
A priority — Bell routing
Miss three bells and the shift ends. Route bells by distance, risk, and who is free—not by whoever panics first. In co-op, assign wings; in solo, clear nearest safe bells before committing across the hospital. Stacked bells in one hall are a trap if you tunnel vision. Learn patterns in how to answer bells and leave time to hide after each answer.
B priority — Generator duty
Generators keep systems alive and reduce chaotic downtime that forces desperate sprints. In 1–4 player lobbies, one teammate near generator duty while others answer bells is a proven stabilizer. Solo players weave generator checks between bell clusters instead of ignoring them until power problems force a bad run across the map. Generator duty is B because it supports the shift rather than directly stopping a chase, but ignoring it still tanks Relentless and Last Shift clears.
How to use these tiers in a real run
- Clear Quiet and Restless while practicing map peeks and flashlight pulses.
- Treat Uneasy as your exam for breath control and early bell routing.
- On Hunted and Relentless, enforce co-op roles from the co-op guide.
- On Last Shift, play for zero ego: longer safe routes beat short deadly ones.
- Track badge progress on the Players Hub so you know which night tier you are actually stuck on.
If you only remember one ranking rule: rarity measures the wall, survival priorities move it. Night 6 is S because almost nobody clears it; map and breath are S because almost every late wipe traces back to them. Combine both ladders, then deep-dive the linked guides before your next queue.
Frequently Asked Questions
Quick answers for night-shift survivors.
How is the ROOM 13 night tier list ranked?
Nights are ranked S–D by official badge rarity and approximate community clear rates. Last Shift (~3%) is S; Relentless (~7%) is A; Hunted (~10%) is B; Uneasy (~15%) is C; Quiet and Restless (~47% / ~26%) are D.
What are the six night codenames?
Quiet, Restless, Uneasy, Hunted, Relentless, and Last Shift—in that order from Night 1 through Night 6.
Which survival skills should I practice first?
Prioritize map discipline and breath control (both S), then flashlight discipline and bell routing (A), then generator duty (B). Late-night wipes usually start with bad map peeks or forgotten breath holds.
Is co-op easier than solo for high tiers?
Co-op helps when roles are clear—one player on generator duty, others splitting bells—but uncoordinated fours fail Hunted and above faster than a careful solo. Use the co-op guide before blaming the night tier.
Does Clocked In count as a night tier?
No. Clocked In only means you started your first shift (~95% Freebie). It belongs on the Players Hub badge list, not on the S–D night difficulty ladder.