ROOM 13 Controls Guide
PC and console bindings plus flashlight, breath, and map habits that keep you alive.
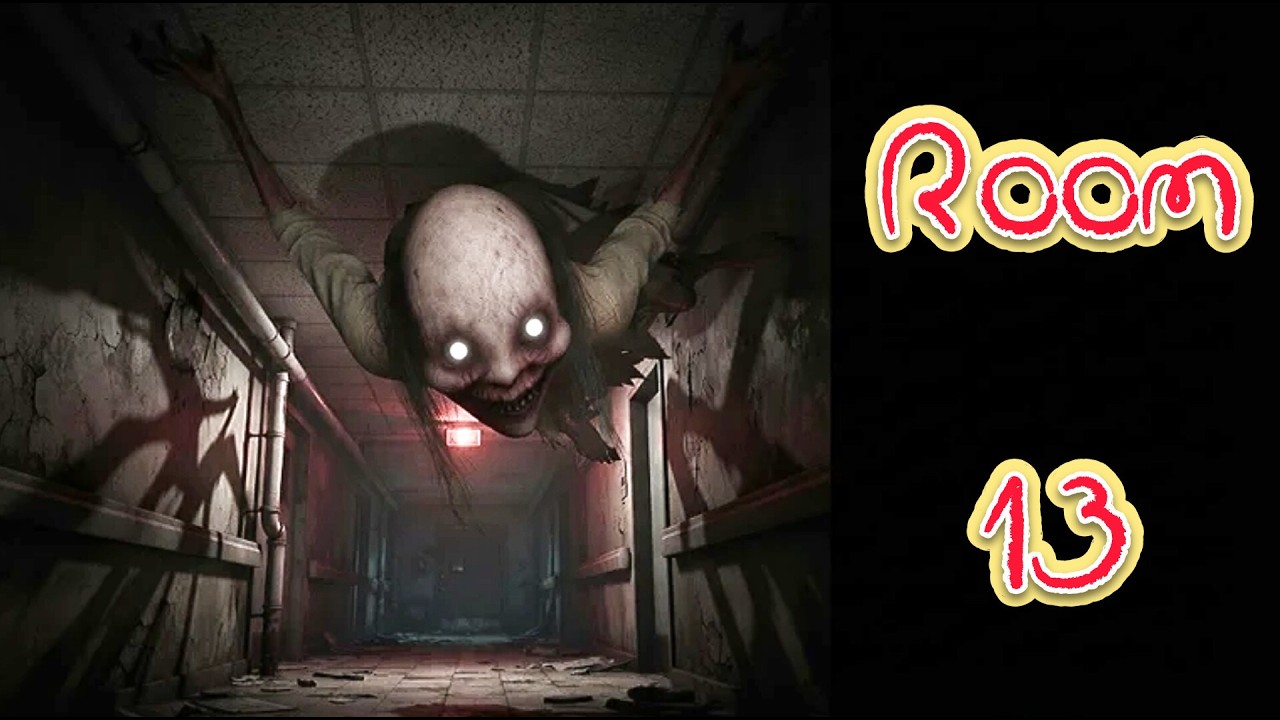
Clean inputs win more ROOM 13 shifts than raw speed. The hospital punishes loud sprinting, lingering flashlight beams, and players who forget the map until two bells are already critical. This Controls guide lists every primary binding for PC and console, then explains how to use each input under pressure so Night 1 Quiet through Night 6 Last Shift feel readable instead of chaotic.
ROOM 13 [HORROR] by CCU Zone is a Roblox survival-horror experience: answer call bells before they ring out, restore power when the generator fails, and avoid She, who sees light and hears running. Miss three bells and the shift ends. Mastering the control set is the fastest way to keep that strike counter low.
PC controls
| Action | PC binding |
|---|---|
| Move | WASD |
| Sprint | Shift |
| Flashlight | F |
| Use / interact | E |
| Hold breath | Space |
| Map | Tab |
Learn the six bindings until you can toggle flashlight and open the map without looking at the keyboard. Interact (E) clears bells and handles generator or power restores. Hold breath (Space) matters inside lockers when She is close—see How to Hide for timing. Map (Tab) is not optional flavor; it is how you pick the shortest safe route when multiple red lamps blink in one wing.
Console controls
| Action | Console binding |
|---|---|
| Move | Left stick |
| Sprint | Click left stick |
| Flashlight | Y |
| Use / interact | X |
| Hold breath | A |
| Map | LB |
Console players should practice click-stick sprint in short bursts only. Accidental sprint in a quiet hallway is one of the most common ways She locates a group. Keep LB map checks frequent so you are not guessing which door matches the blinking red lamp. Use X deliberately at bell rooms and generator panels; mashing while panicked wastes the seconds that keep you under three strikes.
Flashlight discipline
The flashlight is a tool, not a permanent headlamp. She sees your beam. Turn it on to confirm a door number, read a dark corner, or work a generator panel, then turn it off before you cross open junctions. In co-op, agree that only the active runner or the generator watch keeps a light on, and only while working. A glowing beam in an empty hall advertises your position for no benefit.
If you are lost, prefer a quick map check over a long lit wander. Map knowledge plus a short beam pulse beats roaming with F or Y held down. Pair this habit with the routing advice on How to Answer Bells.
Sprint and movement noise
Sprint (Shift on PC, click left stick on console) is for emergencies: a bell about to ring out, a committed clear path, or escaping into a known locker room. Continuous sprinting paints a sound trail. Walk when She is nearby or when you are sweeping a wing that already feels hunted. After a scare, stop, listen, and remount a quieter route instead of panic-sprinting the length of the hospital.
Movement and light are linked. Players who sprint with the flashlight on stack both detection vectors. Break that stack: dark plus walk when you are unsure, light plus walk only when you must see a panel, sprint plus dark only when a bell timer forces the issue.
Hold breath and interact timing
Hold breath (Space / A) is primarily a locker survival input. Enter the locker, hold breath while She passes, then release and exit only when the threat has moved on. Spamming breath outside lockers does not replace good positioning. Interact (E / X) should be clean single presses at the bell or generator—do not stand in the open mash-clicking while the red lamp on another door is about to fail.
Practice the enter-locker → hold breath → wait → exit sequence in Quiet before you need it on Hunted or Relentless. The Night Walkthrough calls out when later nights demand that sequence more often.
Map-first decision loop
Open the map (Tab / LB) whenever a new bell appears, whenever two lamps are active, and whenever She forces you to abandon a route. The loop is simple: see cue → open map → choose shortest safe path → move dark and quiet → interact → recheck map. New players skip the map step and invent long loops that burn strikes. Veterans remap the moment a path is compromised.
In four-player sessions, one person can call map updates while others run—see Co-op Guide. Solo players must build the map habit into every bell cycle so generator trips do not erase spatial awareness.
Platform tips before Night 1
On PC, recheck that Shift and F are comfortable; many wipes start with an accidental sprint or a flashlight left on after a panel interact. On console, confirm you can click the left stick without drifting the camera into a useless angle. Both platforms should warm up with one Quiet lap focused only on inputs: toggle light, open map, clear a bell, enter a locker, hold breath, exit.
If you are brand new to the game loop, return to Getting Started for the full first-shift checklist. Use this Controls page as the reference card you reopen whenever a friend joins on a different platform or whenever a late-night wipe was clearly an input mistake rather than a routing mistake.
Master the bindings, then spend your attention on bells and Her. ROOM 13 rewards players who treat every key and button as part of stealth, not as a speedrun keyboard smash.
Frequently Asked Questions
Quick answers for night-shift survivors.
What is the flashlight key in ROOM 13 on PC?
Press F to toggle the flashlight. Turn it off in open halls so She does not see the beam.
How do I open the map on console?
Press LB to open the map. Check it whenever new bells appear or when you must remap after seeing Her.
How do I hold breath?
Hold Space on PC or A on console, usually while inside a locker so She does not hear you.
Should I sprint everywhere?
No. Sprint only for critical bells or known safe dashes. Running noise helps Her track you.
Which control clears a call bell?
Use interact: E on PC or X on console at the room that has the blinking red lamp.
Where should I practice controls first?
Warm up on Night 1 Quiet, then read Getting Started and How to Hide so inputs match real hospital pressure.